Using Nginx for Public Access of DCS Redis Instances
This section describes how to access a single-node, master/standby, read/write splitting, or Proxy Cluster DCS Redis 4.0, 5.0, or 6.0 instance by using a jump server. This solution cannot be used to access a Redis Cluster instance over public networks.
Currently, DCS Redis 4.0, 5.0, and 6.0 instances cannot be bound with elastic IP addresses (EIPs) and cannot be accessed over public networks directly.
As shown in figure below, the ECS where Nginx is installed is a jump server. The ECS is in the same VPC as the DCS Redis instances and can access the DCS Redis instances through the subnet IP addresses. After an EIP is bound to the ECS, the ECS can be accessed over the public network. Nginx can listen on multiple ports and forward requests to different DCS Redis instances.

Do not use public network access in the production environment. Client access exceptions caused by poor public network performance will not be included in the SLA.
Creating an ECS
-
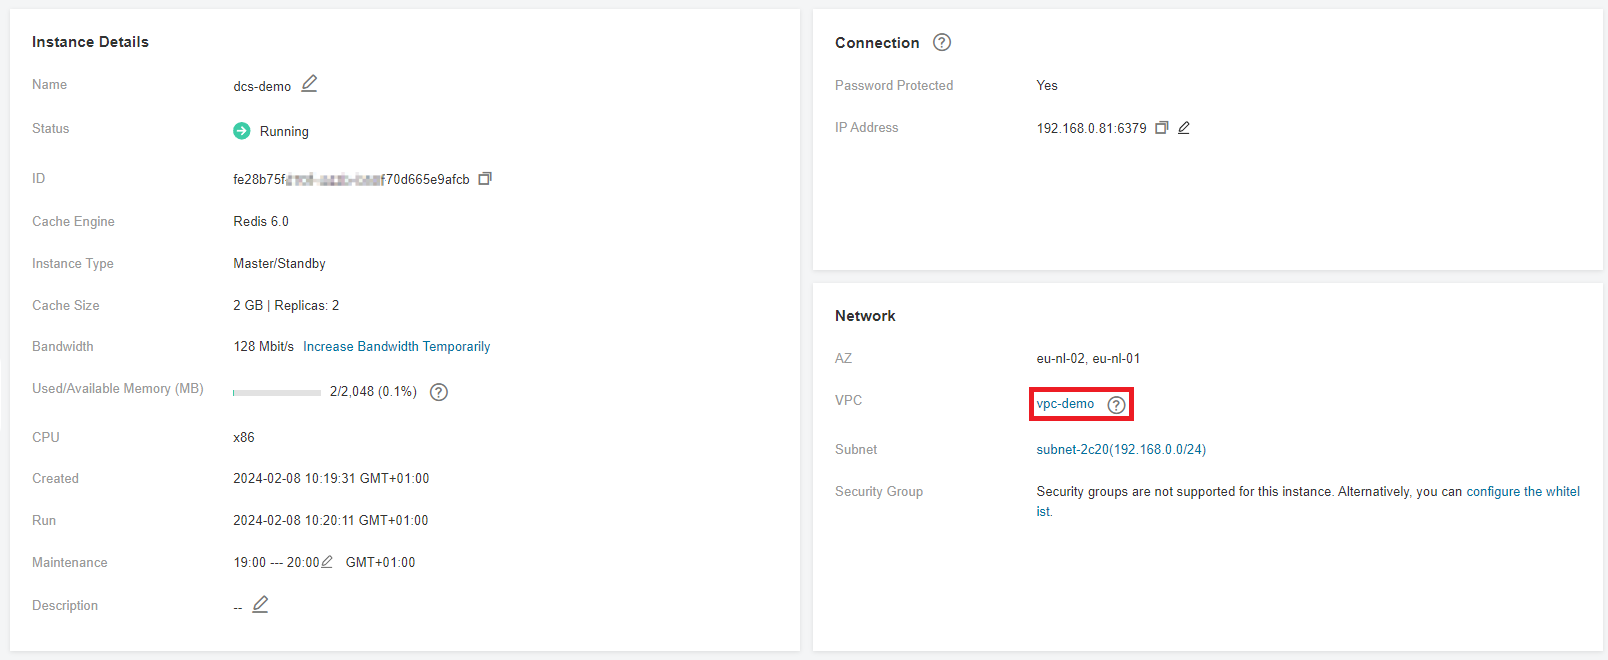
Obtain the VPC where the DCS Redis instance is deployed.
As shown in the following figure, the master/standby instance is deployed in the
vpc-demoVPC.
-
Create an ECS. Configure the ECS with the
vpc-demoVPC, bind an EIP to the ECS, and select the bandwidth as required.
Installing Nginx
After Creating an ECS, install Nginx on the ECS. The following uses CentOS Stream 9 as an example to describe how to install Nginx. The commands vary depending on the OS.
-
Run the following command to add Nginx to the Yum repository:
sudo rpm -Uvh http://nginx.org/packages/centos/7/noarch/RPMS/nginx-release-centos-7-0.el7.ngx.noarch.rpm -
Run the following command to check whether Nginx has been added successfully:
yum search nginx -
Run the following command to install Nginx:
sudo yum install -y nginx -
Run the following command to install the stream module:
sudo yum install nginx-mod-stream --skip-broken -
Run the following commands to start Nginx and set it to run automatically upon system startup:
sudo systemctl start nginx.service
sudo systemctl enable nginx.service -
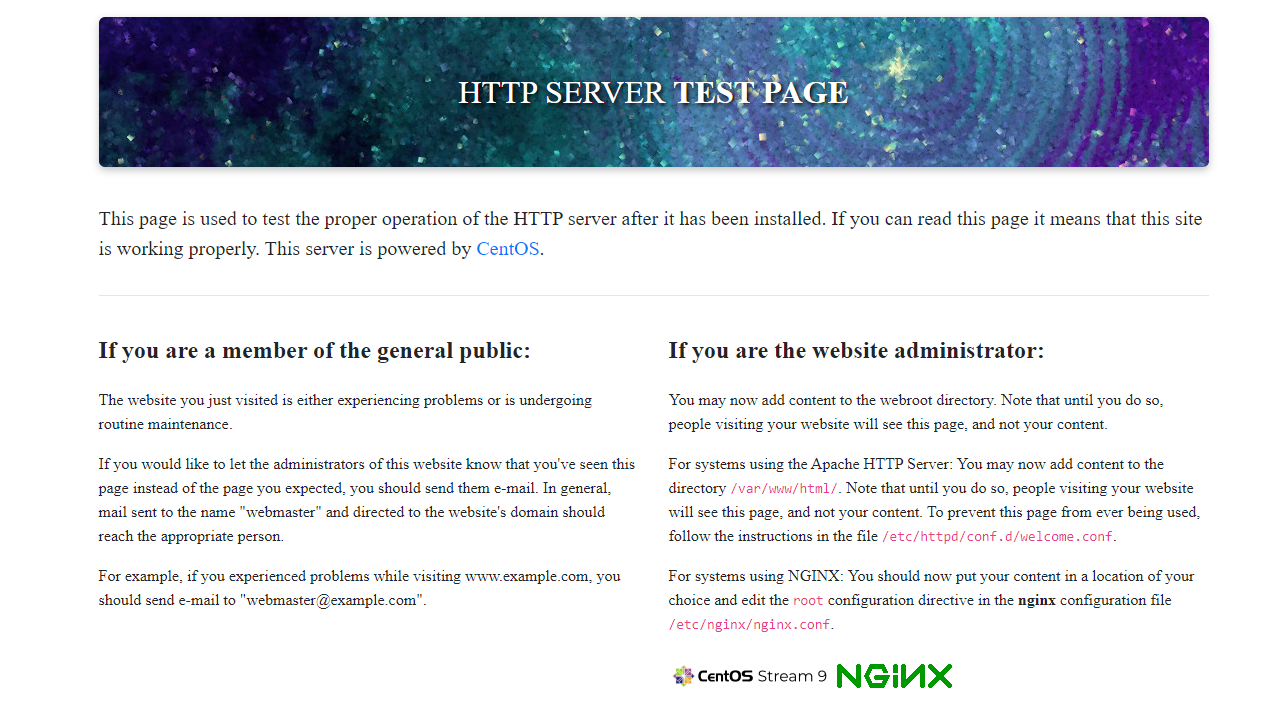
In the address box of a browser, enter the server address (the EIP of the ECS) to check whether Nginx is installed successfully.
If the following page is displayed, Nginx has been installed successfully.

Setting Up Nginx
After installing Nginx, configure request forwarding rules to specify the ports that Nginx listens on and the DCS Redis instances that Nginx forwards requests to.
-
Open and modify the configuration file.
cd /etc/nginx
sudo vi nginx.conf
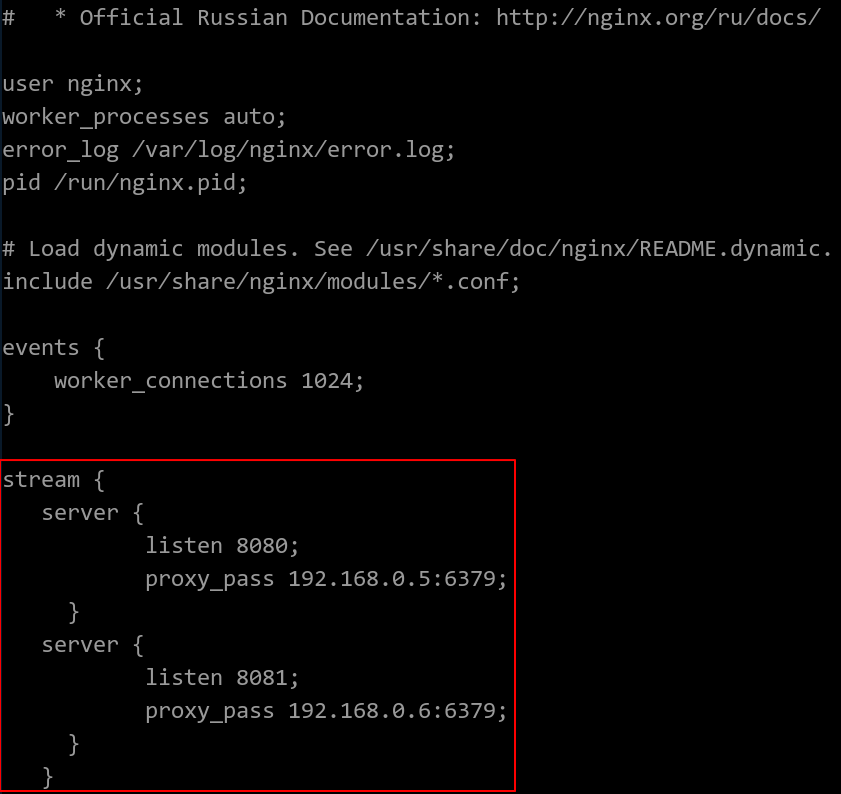
The following is a configuration example. To access multiple DCS Redis instances over public networks, configure multiple
serversections and configure the DCS Redis instance connection addresses forproxy\pass.nginx.confstream {
server {
listen 8080;
proxy_pass 192.168.0.5:6379;
}
server {
listen 8081;
proxy_pass 192.168.0.6:6379;
}
}noteSet
proxy\passto the IP address of the DCS Redis instance in the same VPC. You can obtain the IP address from the Connection area on the DCS instance details page.
-
Restarting Nginx.
sudo service nginx restart -
Verify whether Nginx has been started.
netstat -an|grep 808
If Nginx is listening on ports
8080and8081, Nginx has been started successfully.
(Optional) Persistent Connections
If persistent connections (pconnect in Redis terminology) are required for public network access, add the following configuration in Setting up Nginx:
-
Timeout of a connection from Nginx to the server"
    stream {
        server {
            listen 8080;
            proxy_pass 192.168.0.5:6379;
            proxy_socket_keepalive on;
            proxy_timeout 60m;
            proxy_connect_timeout 60s;
        }
        server {
            listen 8081;
            proxy_pass 192.168.0.6:6379;
            proxy_socket_keepalive on;
            proxy_timeout 60m;
            proxy_connect_timeout 60s;
        }
    }
The default value of
proxy\timeoutis10m. You can set it to60mor other values as required. For details about this parameter, see the Nginx official website. -
Timeout of a connection from the client to Nginx:
    http {
        keepalive_timeout 3600s;
    }
The default value of
keepalive\_timeoutis75s. You can set it to3600sor other values as required. For details about this parameter, see the Nginx official website.
Accessing DCS Redis Instances Using Nginx
-
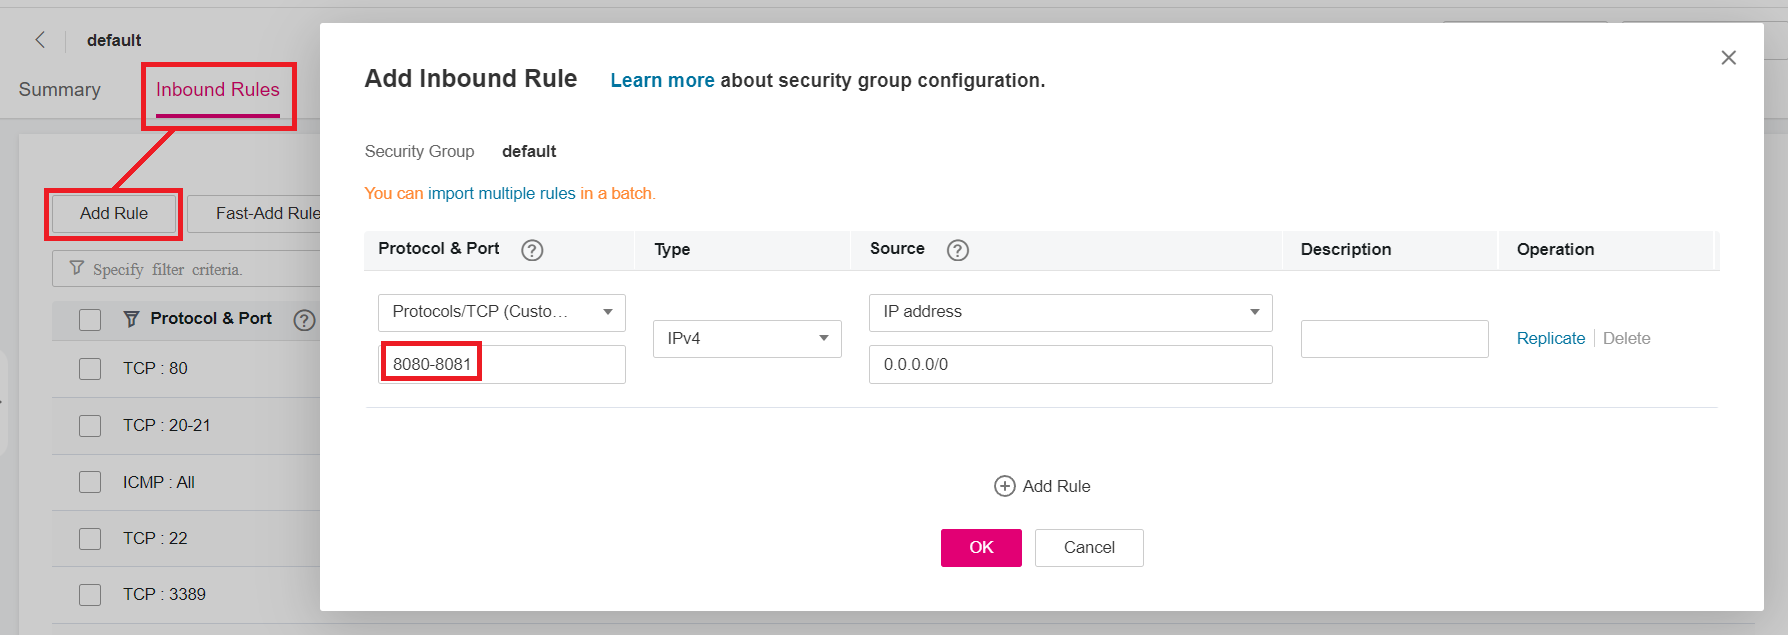
Log in to the ECS console and check the security group rules of the ECS that serves as the jump server. Ensure that access over ports
8080and8081is allowed.- Click the ECS name to go to the details page.
- On the Security Groups tab page, click Modify Security Group Rule. The security group configuration page is displayed.


-
In the public network environment, open the redis-cli and run the following command to check whether the login and query are successful:
noteEnsure that redis-cli has been installed in the public network environment by referring to redis-cli.
**./redis-cli -h** *{myeip}* **-p** *{port}* **-a** *{mypassword}*In the preceding command,
{myeip}indicates the host connection address, which should be replaced with the EIP of the ECS. Replace{port}with the listening port of Nginx.As shown in the following figures, the two listening ports are
8080and8081, which correspond to two DCS Redis instances.

The jump server has now been set up. You can access Redis over public networks.