Restoring Kubernetes Objects in a CCE Cluster
In this part of the guide, we will demonstrate how to restore a WordPress backup created with Velero (FSB) onto a target T Cloud Public CCE cluster. The process includes restoring both the namespace resources (Deployments, Services, Secrets, ConfigMaps) and the persistent volumes for MySQL and WordPress content, effectively migrating the workload into a new cluster.
The following actions have to be performed on the T Cloud Public CCE cluster which is our migration target.
Creating StorageClass Mappings
Since/If storage infrastructures differ between clusters, volumes cannot be mounted on the target cluster without adjustment. To address this, you must create a mapping between the source and target storage classes.
Hence, you need to create a StorageClass in T Cloud Public CCE with the exact same name as the one used in the source cloud provider, in this case AWS. In this case SSDs, as backend storage media, will be mapped to a new StorageClass that has the same name, namely gp2, as their equivalent in AWS.
Choose one of the two methods described below, and apply it before restoring the application in the target cluster. If no matching StorageClass exists at the target and the mapping is not configured in advance, persistent volumes will fail to restore.
Option 1: Creating a ConfigMap Mapping
Create a ConfigMap, named storageclasses-remapping.yaml, in your workstation:
apiVersion: v1
kind: ConfigMap
metadata:
  name: storageclasses-remapping
  namespace: velero
  labels:
    app.kubernetes.io/name: velero
    velero.io/plugin-config: "true"
    velero.io/change-storage-class: RestoreItemAction
data:
  gp2: csi-disk
and then apply it:
kubectl apply -f storageclasses-remapping.yaml
With this option, you can remap multiple storage classes at once. Each key/value pair in the data section must follow the format STORAGECLASS_IN_SOURCE:STORAGECLASS_IN_TARGET.
Option 2: Creating a new StorageClass
Prepare the manifest for the new StorageClass:
apiVersion: storage.k8s.io/v1
kind: StorageClass
metadata:
  name: gp2
  selfLink: /apis/storage.k8s.io/v1/storageclasses/csi-disk
parameters:
  csi.storage.k8s.io/csi-driver-name: disk.csi.everest.io
  csi.storage.k8s.io/fstype: ext4
  everest.io/disk-volume-type: SSD
  everest.io/passthrough: "true"
provisioner: everest-csi-provisioner
reclaimPolicy: Delete
volumeBindingMode: Immediate
allowVolumeExpansion: true
and then apply it:
kubectl create -f cce-storageclass-gp2.yaml
Restoring the Application
Then we can proceed restoring the backup:
velero restore create wp-restore \
  --from-backup wp-backup-auto \
  --namespace-mappings wordpress:wordpress
If you want to restore the application into a different namespace, adjust the second value of the --namespace-mappings, for example: --namespace-mappings wordpress:wordpress-restored.
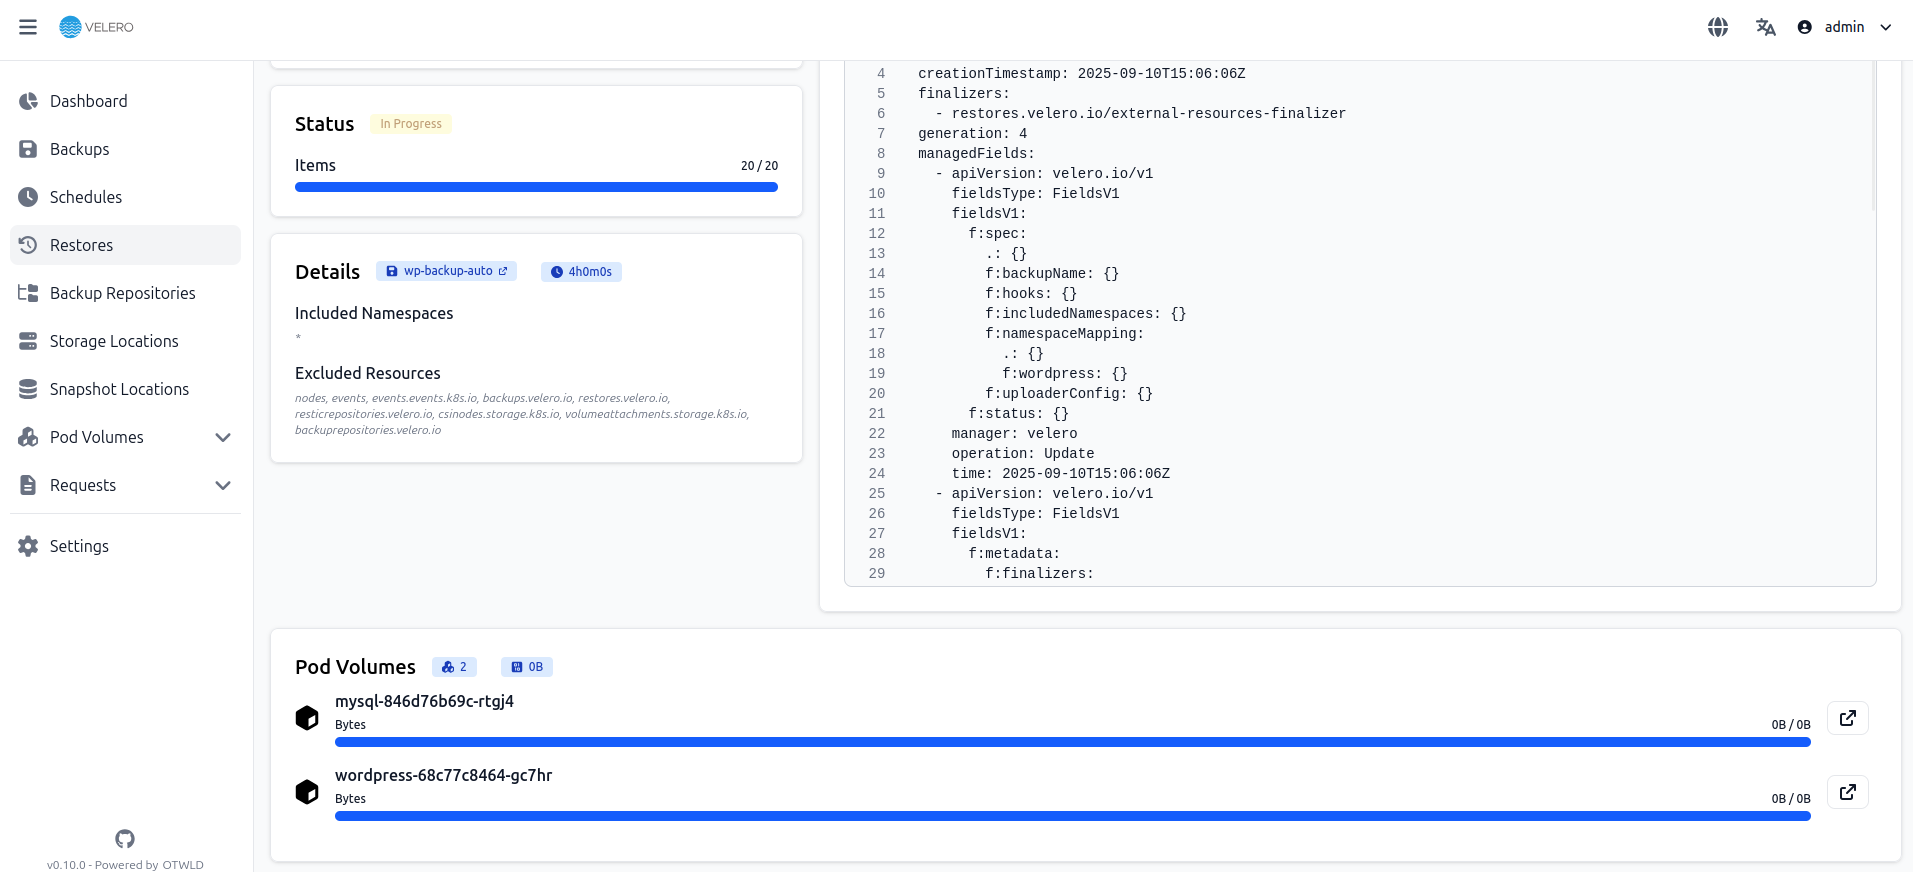
In order to verify the status of the restore we could execute the following commands:
velero restore get
velero restore describe wp-restore
or simply follow the progress of the restore directly from the WebUI, we previously installed:
Post-Migration Considerations
Updating Images
You can skip this section if you have decided not to use SWR as part of your setup. The steps described here are only relevant when container images need to be migrated into or managed through the Software Repository for Containers.
If your container images (for MySQL and WordPress) are already located in SWR, an image pull failure (ErrImagePull) will not occur. If the application to be migrated is created from a private image, perform the following steps to update the image:
-
Migrate the image resources to SWR. For details, see Uploading an Image Through the Client.
-
Log in to the SWR console and obtain the image path used after the migration. The image path will be in the following format:
swr.{REGION}.otc.t-systems.com/{ORGANIZATION_NAME}/{IMAGE_NAME}:{IMAGE_TAG}. -
Run the following command to modify the workload and replace the
imagestanza value in the manifest file with the image path you obtained in the previous step:kubectl edit deploy wordpress
Updating Services
After the cluster is migrated, the Service of the source cluster may fail to take effect. You can perform the following steps to update the Service. If ingresses are configured in the source cluster, connect the new cluster to ELB again after the migration. For details, see Using kubectl to Create an ELB Ingress.
Edit the manifest of the respective Service to change its type and port number.
kubectl edit svc wordpress
To modify load balancer resources, apply the required annotations by following the instructions outlined in the LoadBalancer configuration section, .e.g.:
annotations:
  kubernetes.io/elb.class: union
  kubernetes.io/elb.id: 9d06a39d-xxxx-xxxx-xxxx-c204397498a3
  kubernetes.io/elb.subnet-id: f86ba71c-xxxx-xxxx-xxxx-39c8a7d4bb36
  kubernetes.io/session-affinity-mode: SOURCE_IP